Shop Goodwill for double-duty (and budget friendly) organizing ideas for your home. Think outside the box!
Shopping for new boxes, bins, baskets, and Lazy Susan’s is expensive. However, a budget friendly way to organize your home is through creative Goodwill finds. Wander around your local Goodwill Store to shop for creative solutions. Here are 10 double-duty organizing ideas.
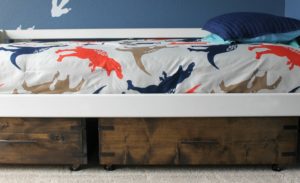
1. Goodwill is a great place to find used furniture. You might find a beautiful piece but don’t have room for it in your home. Consider re-purposing the drawers as under-the-bed storage. Just add wheels for easy access.
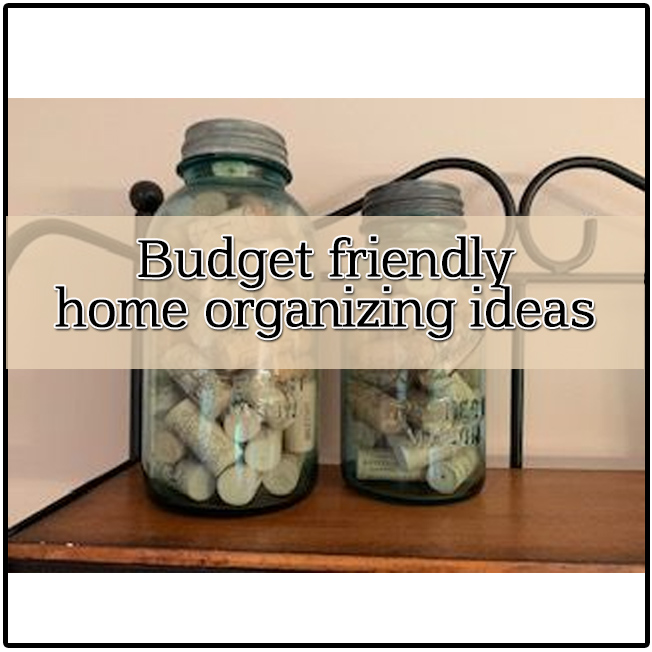
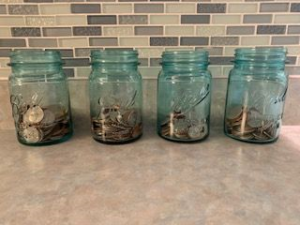 2. My trip to Goodwill in search of storage items turned up mason jars in all shapes and sizes. Jars are fantastic for storage of dry ingredients and non-perishable items for your pantry. For instance, use the jars for tea bags or spice packets. You can also use jars to organize office supplies like paperclips and push pins.
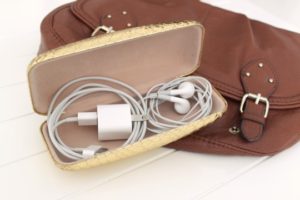 3. Eyeglass cases serve as a creative way to store things while traveling. Use a vintage case for holding jewelry or earbuds and your phone charger.
 4. With summer being the time for travel, organization is important to make your trip less stressful. For instance, pill holders can be used for earrings, rings and so on.
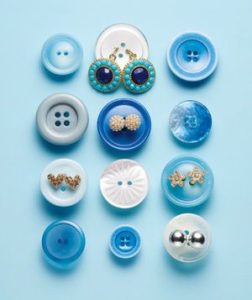 5. Many times I see bags of craft supplies at Goodwill, and in those bags are dozens of mismatched buttons. Try putting your earrings through the holes of the buttons to store them This will help keep them together.
 6. Cookie jars of all shapes and sizes can be used to store things like nail polish or kids crayons.
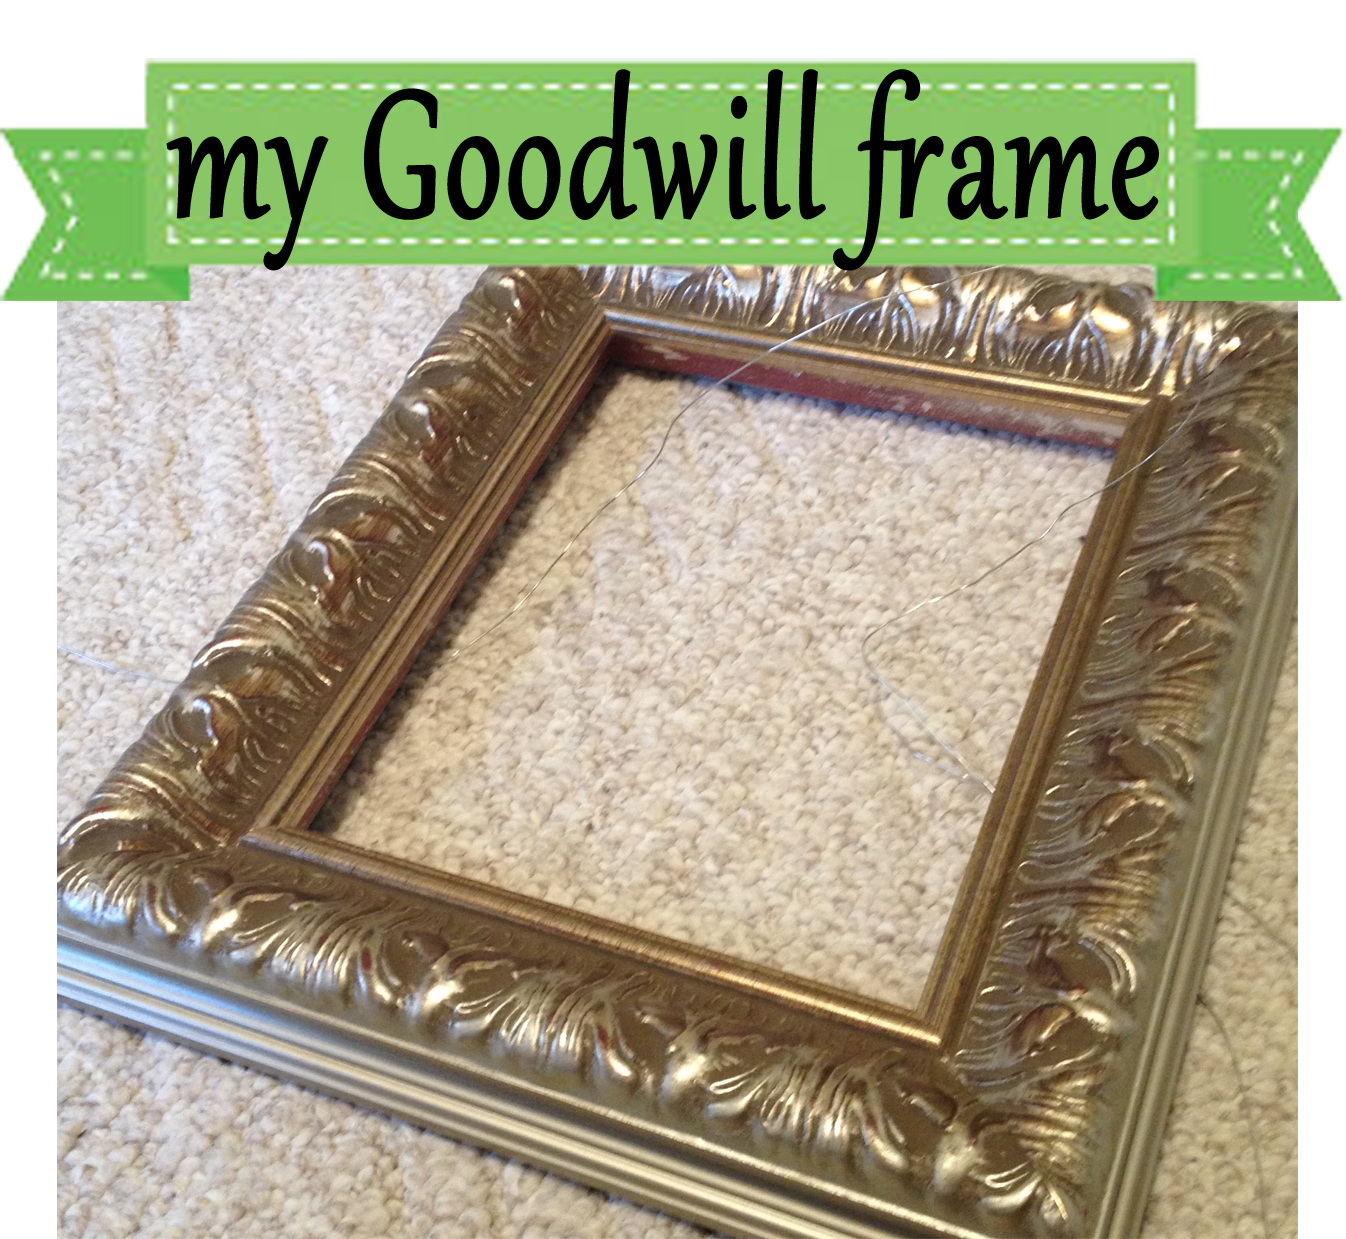
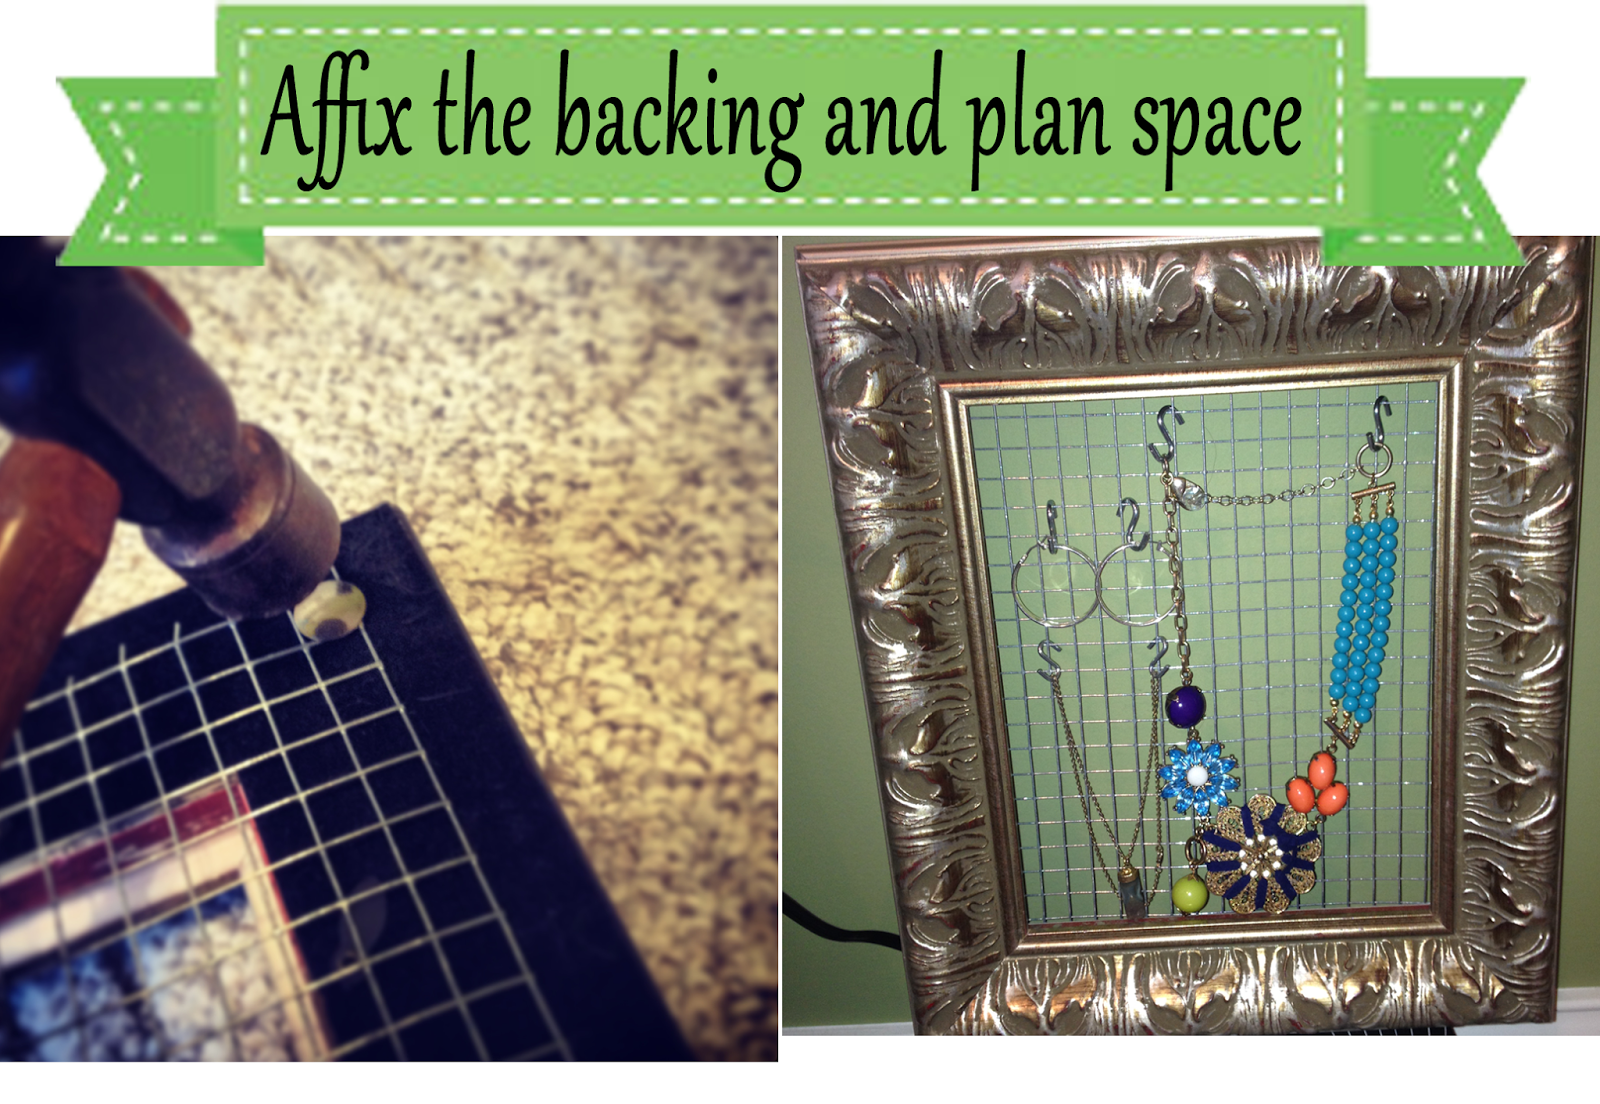
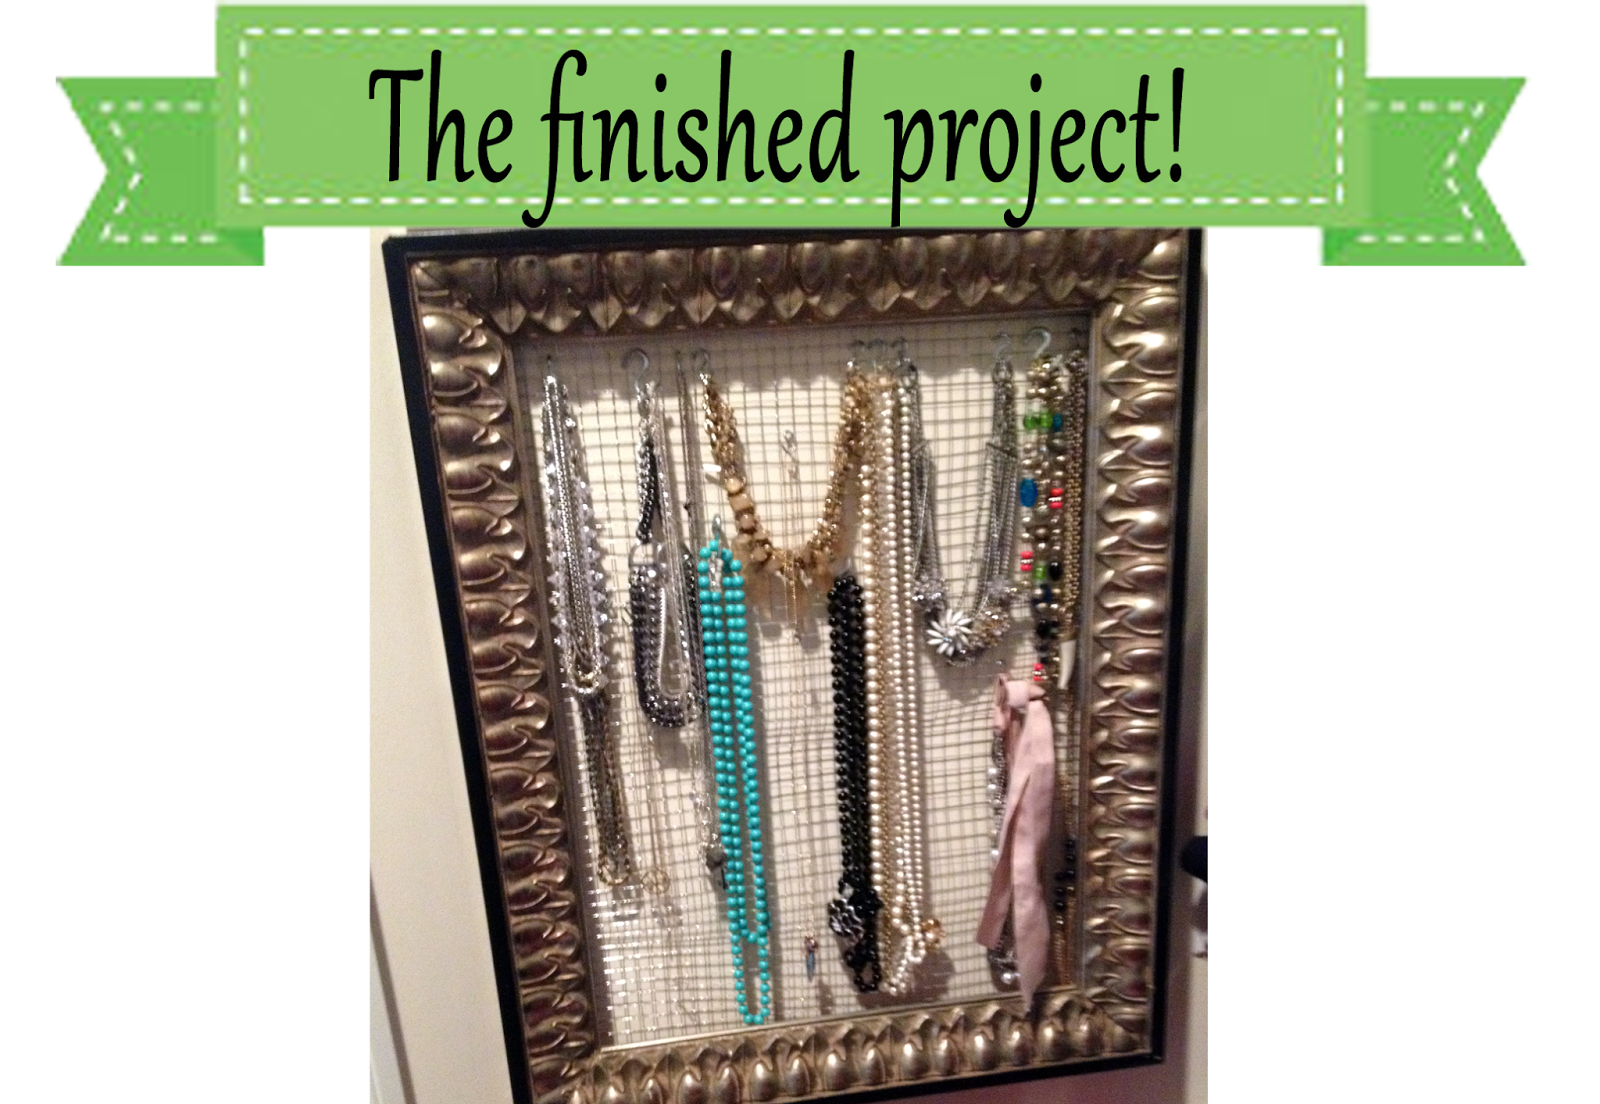
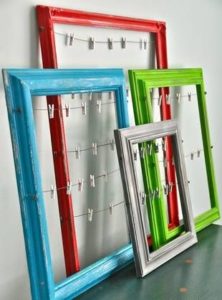 7. When you find a beautiful frame at Goodwill but don’t love the art contained in the frame, consider using the frame for something creative. First, it can easily be painted. And then, attach several rows of string or ribbon on the back, and use clothes pins to display photos or greeting cards. This could also make a creative family chore / reward chart!
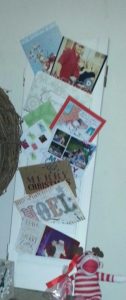 8. Find an old shutter from a home? Use it to display cards or mementos.
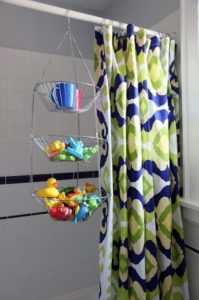 9. Is your kids bathroom a place that is in need of serious organization? A tiered mesh basket (usually used for fruit in a kitchen) makes bath toy organization a breeze. Hang from the curtain rod. It keeps toys contained and allows them to dry.
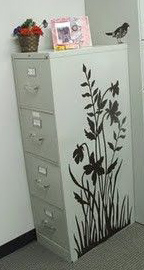 10. Two-drawer metal file cabinets are a regular find at Goodwill. These gems have so many uses for organization in your home. Toss a pretty throw, scarf or table cloth over the top and you have an instant end table with hidden storage. You can also paint it and apply a stencil to give the storage unit a new look Do a Pinterest search on re-purposing metal cabinets and you will be shocked at all the ideas!
This months guest blogger is Cathy Fairchild from Say Yes to Less.
Get in touch with Cathy at: http://www.sayyestoless.guru
https://www.facebook.com/sayyestoless.guru/


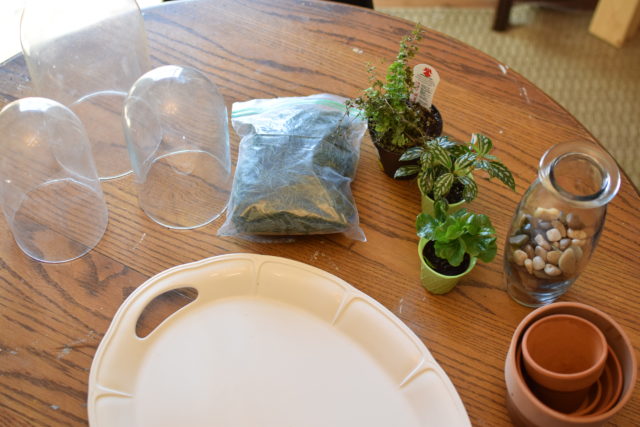
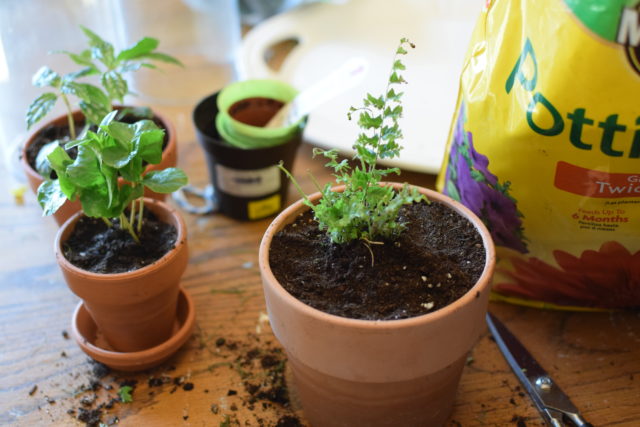
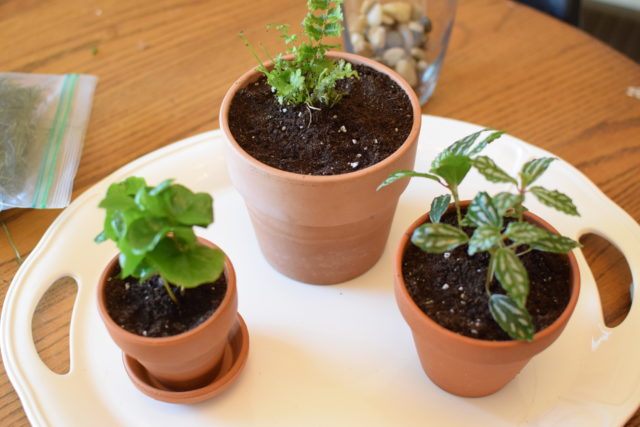
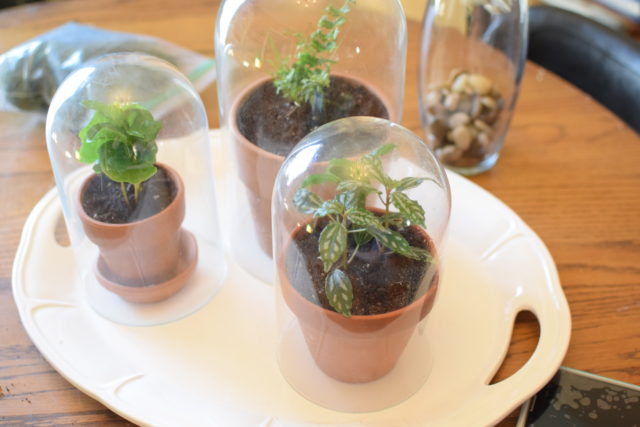
 This can be a fun project for kids to get involved with. Let your kids help choose the plants, and get their hands dirty potting. They will love watching something they created grow throughout the Spring and Summer.

