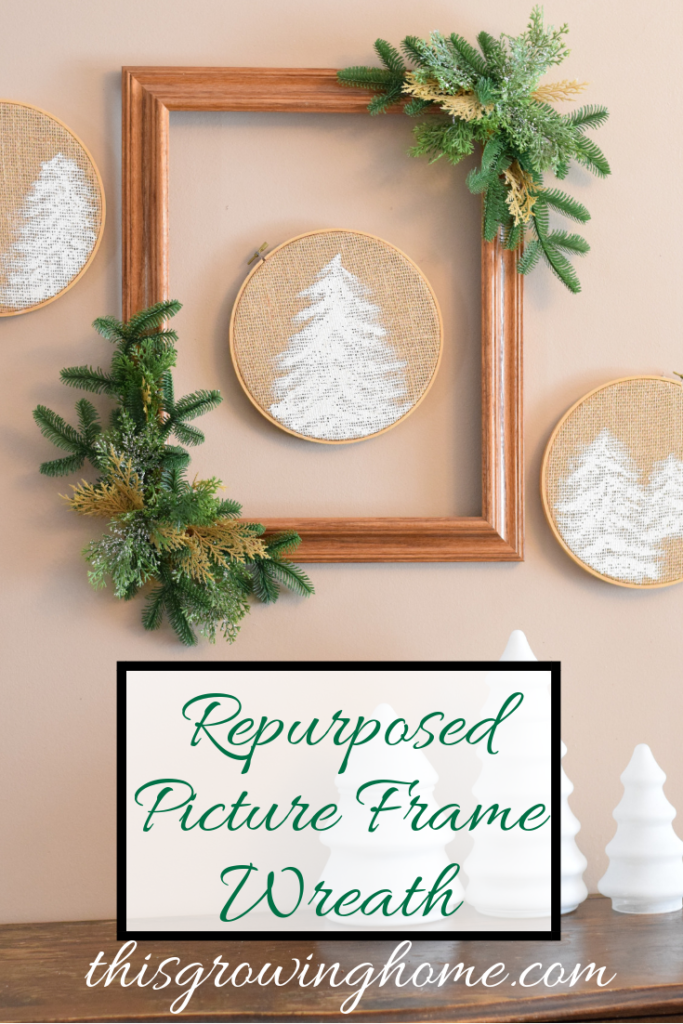
Repurposed Picture Frame Wreath

Are you ready for Christmas? This repurposed picture frame wreath is the perfect final decoration for your home, and is an easy DIY Christmas décor project using things found at Goodwill.

What you’ll need:

  1. Frames
  2. Greenery
  3. Hot Glue Gun / Glue Sticks

Supply Run!
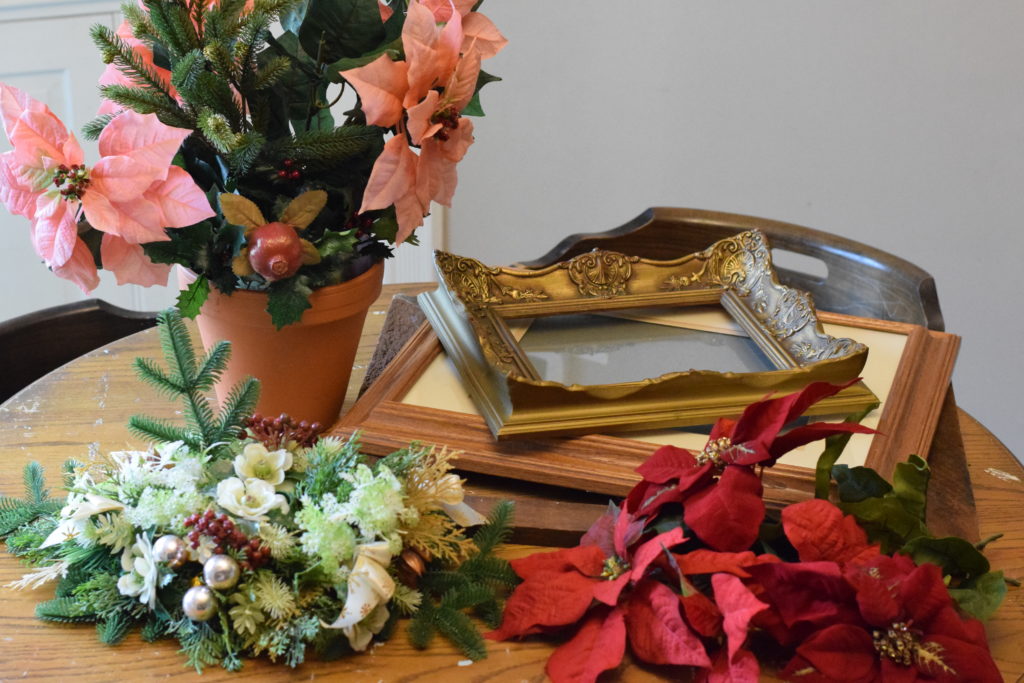
You’ll want to start out this repurposed picture frame wreath project by going on a supply run to your local Goodwill Store. They will have a ton of picture frame options for you to choose from!

Once you’ve picked out your frame or frames for this easy DIY Christmas décor project, head over to the Christmas aisle at Goodwill for some greenery. This is where you’ll need a little vision. Any donated Christmas arrangements will work as long as they can be disassembled.

Here’s What I Used

For my wreaths, I found a rustic wood frame, an elaborate gold frame, and a lighter wood frame. I also used an evergreen centerpiece, a potted poinsettia arrangement, and some red poinsettias I found on a previous trip. With those I was able to create three repurposed picture frame wreath decorations!

I preferred mine to be more minimal, and so was able to stretch the greenery farther. If you prefer a fuller look, you can easily add more to your own DIY Christmas décor project.

Pull It All Apart
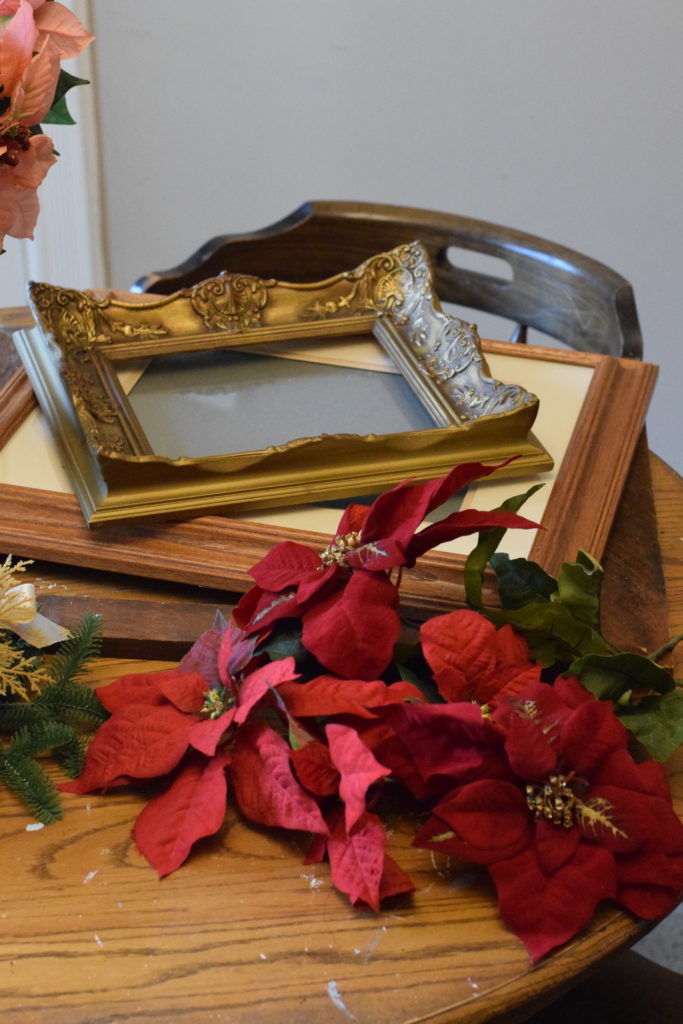
The next thing you’ll want to do for your repurposed picture frame wreath, is disassemble your supplies. Remove any pictures and glass from your frames, and separate the greenery you found.

I pulled mine apart and piled all the similar kinds together to see what I had of each. Then I organized which piles I wanted to go with each frame. Feel free to mix and match or stick to only one. Design it however you’re inspired! The beauty of this easy DIY Christmas décor project is that you can personalize it for your own preferences.

Lay It All Out
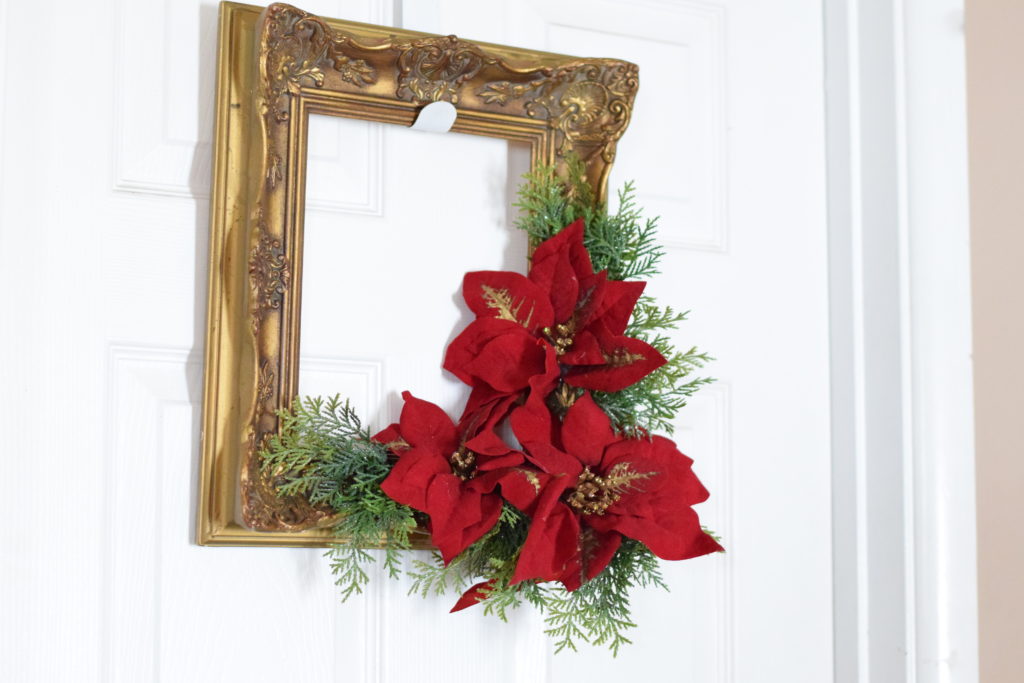
Once you’ve decided what greenery goes with each frame, you’ll want to lay it all out to make sure you have enough and perfect how it will be arranged on the frame. Find a center point that you will be working out from. For mine, I used the corner of the frame as the center point and laid it out so the greenery met at that point.

When that’s done, you can pull out the hot glue gun and get it warmed up.

Finishing Touches
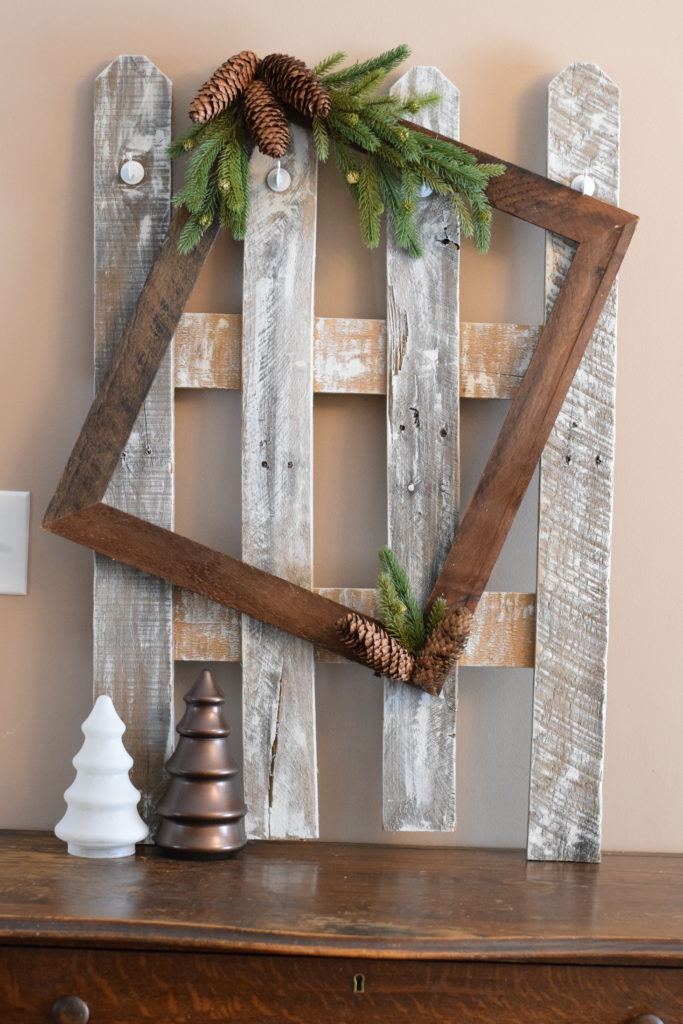
When the glue gun is all warmed up, you can start applying the greenery to your repurposed picture frame wreath. Start with the farthest greenery from the center point and work toward the center. That way, you will hide any stems or glue under the next piece. Once you get to the center, you can nest the stems and glue under pieces that are already glued down so they aren’t visible.

If you are nervous about being able to disguise the glue points, you can add your own embellishment to the center point like a ribbon or bulb. You may even have one laying around after disassembling your greenery!

Get Hanging!
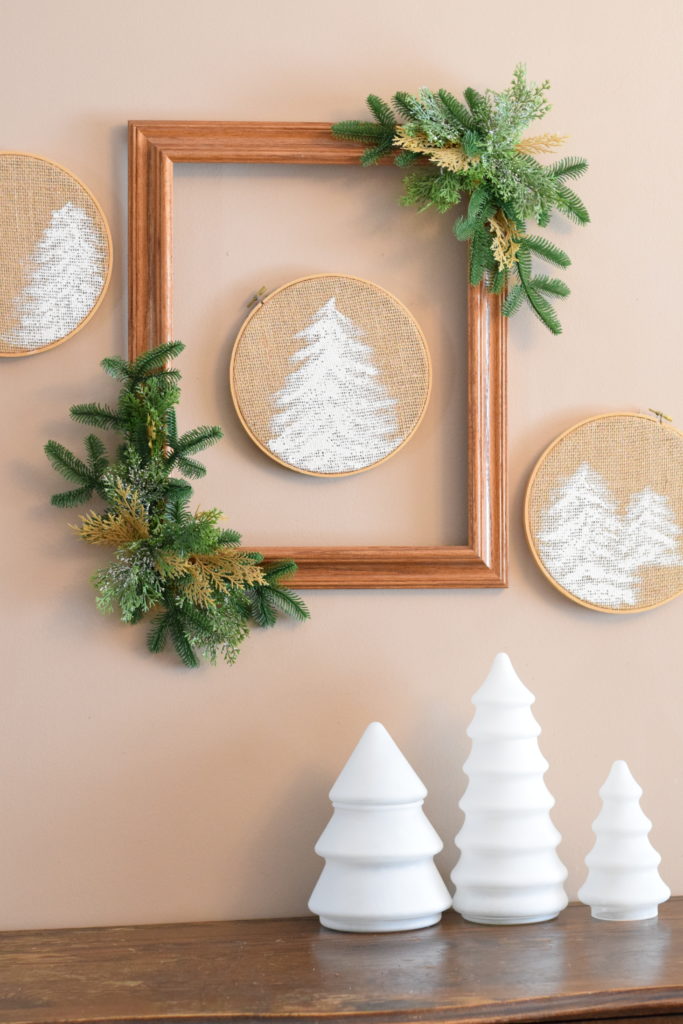
After the glue dries, your easy DIY Christmas décor is ready to be displayed! You can hang your repurposed picture frame wreath, or display it from a shelf.

I was so happy with how mine turned out! They look great on their own or as the focal point of your holiday wall arrangements! Enjoy your DIY Christmas décor pieces! You can find tutorials for the DIY Winter Décor Glass Trees and picket fence DIY Stocking Hanger on my website www.ThisGrowingHome.com

Or go directly to the posts:

https://www.thisgrowinghome.com/diy-winter-decor-glass-trees/

https://www.thisgrowinghome.com/diy-stocking-hanger/

Hopefully you enjoyed this fun and easy DIY Christmas décor project and are already getting started on your own repurposed picture frame wreath! Check in later for more fun and easy projects supplied by your local Goodwill! And… Happy Decorating!!

DIY Jewelry Organizer

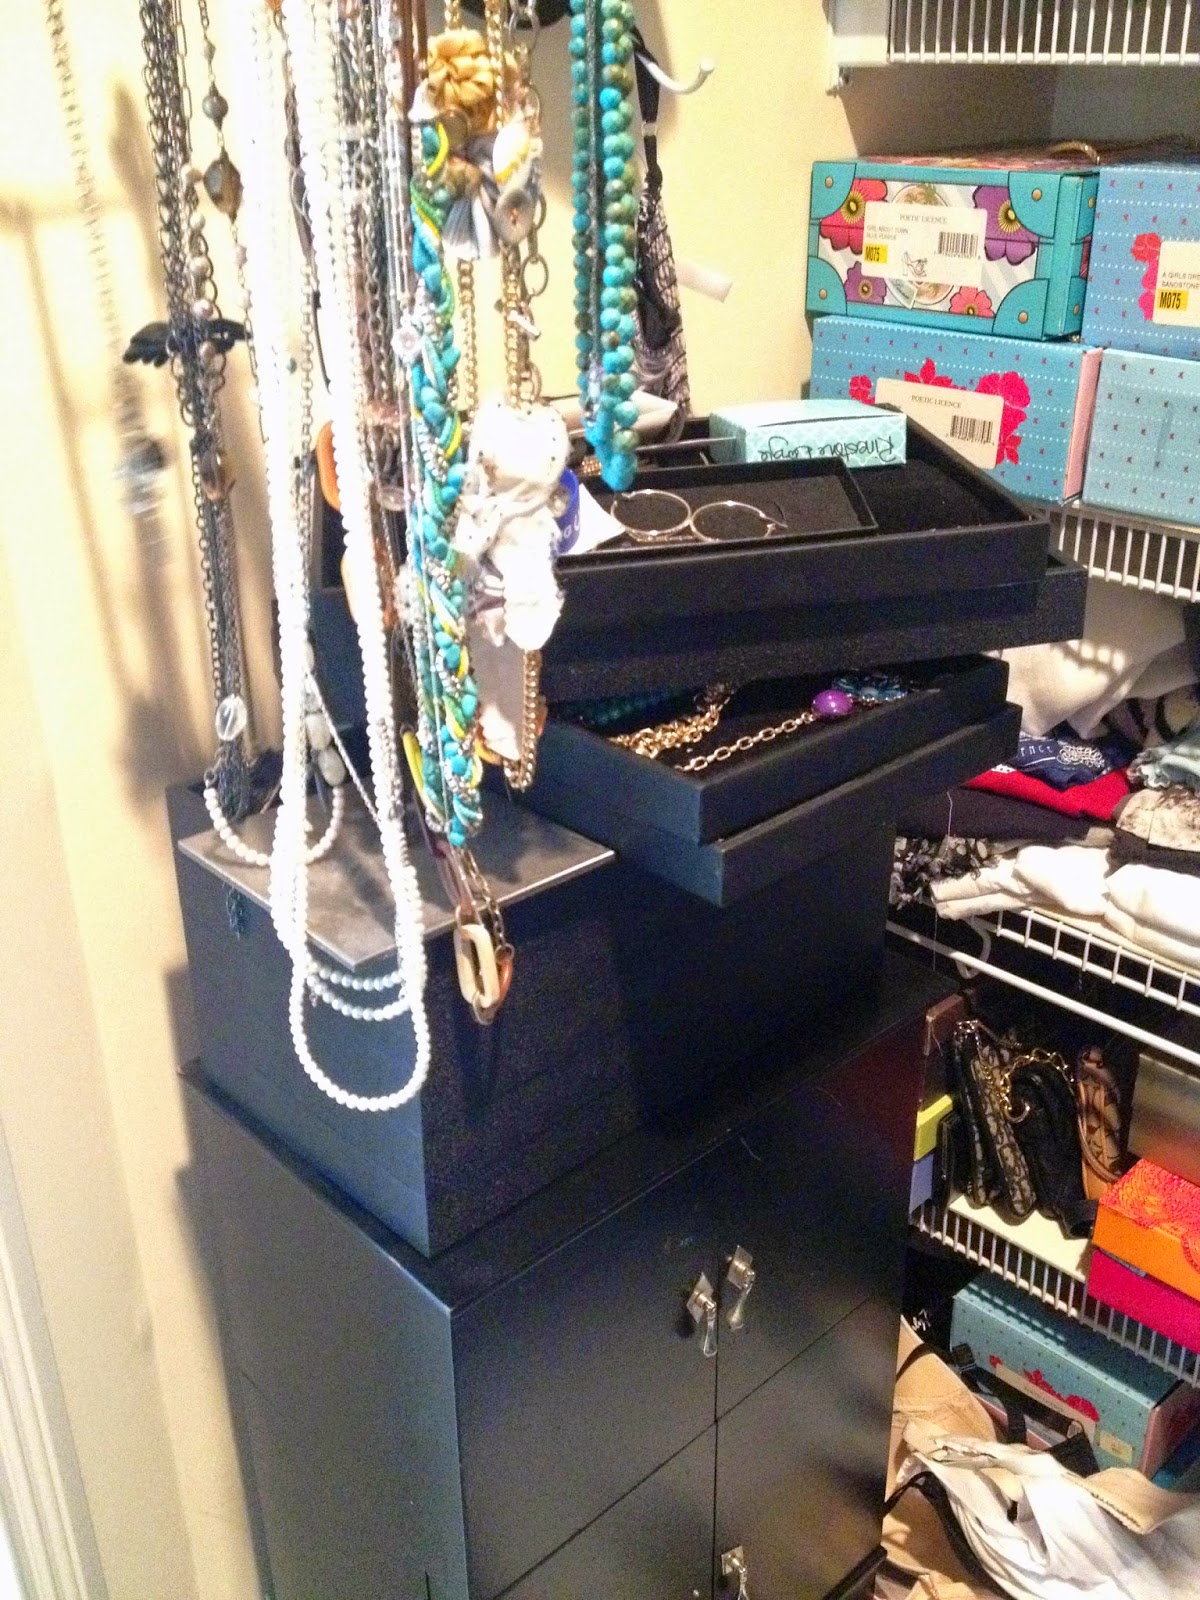
One of the things I seem to struggle with is wearing all of the great accessories I’ve collected over the years.  It seems I always wear the same few pieces…because I can see them, they are on top of the pile (know what I mean?).

The notion of being able to see all of my jewelry coupled with a good storage option has been something I’ve been frustrated with for a long time.  I’ve tried hanging everything on a necklace tree, I purchased a piece of furniture that held my jewelry, I even invested in stack-able trays thinking that was the ticket to storing all of my jewelry pieces.

None of those things worked.

When a modern mom has a problem like this, what does she do?  She turns to Pinterest of course!  I saw some DIY jewelry organizers that I thought might work, so I decided to make my own.  And I must say, it is working very well!  The best thing about this DIY project is you don’t have to be crafty or own a bunch of tools to have a great looking final product.

DIY PICTURE FRAME JEWELRY ORGANIZER


STEP 1
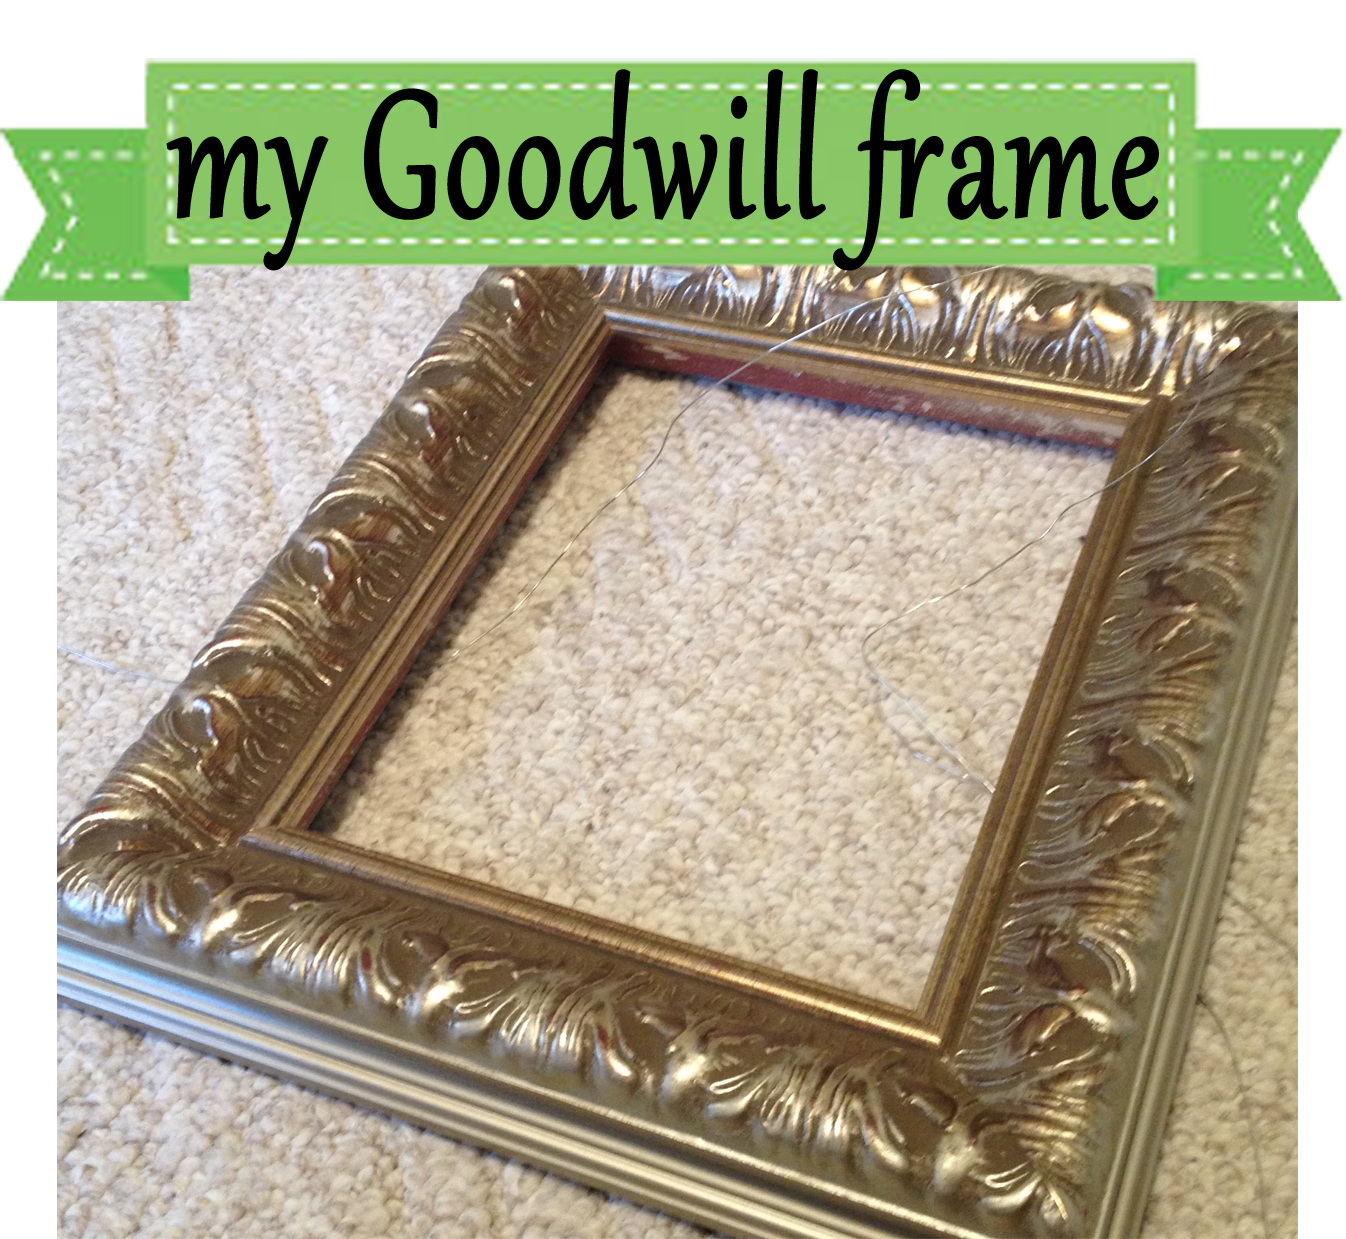
First, head to your local Goodwill store and find a picture frame that you love.  It doesn’t matter what is inside (what the picture is), just look for a decorative frame (or maybe something simple) that will match your decor. The best frames for this project will be large bulky frames.  Look for something that is made of wood  and that is at least 1 1/2″ thick. I found 3 frames to use for this project.  Two smaller frames (about 8×10), and one larger frame (about 24×30).  I will use the smaller one for bracelets and earrings, and the larger one for necklaces.

STEP 2

The second step is to head to a craft store or hardware store.  I stopped by a hardware store and purchased $14 worth of supplies.  They include:

  1. A variety of small ‘S’ hooks
  2. A roll of chicken wire (sometimes called Hardware Cloth)
  3. Some heavy duty thumb tacks

STEP 3
Prepare the picture frame by removing all of the backing.

Next, measure how much of the Chicken Wire you will need to cut to fit the frame.  I cut the piece to fit the back of the frame, leaving about 1/4″ border. Using wire cutters (mine are technically floral cutters), trim a piece of the Chicken Wire to fit the back of your frame.

STEP 4

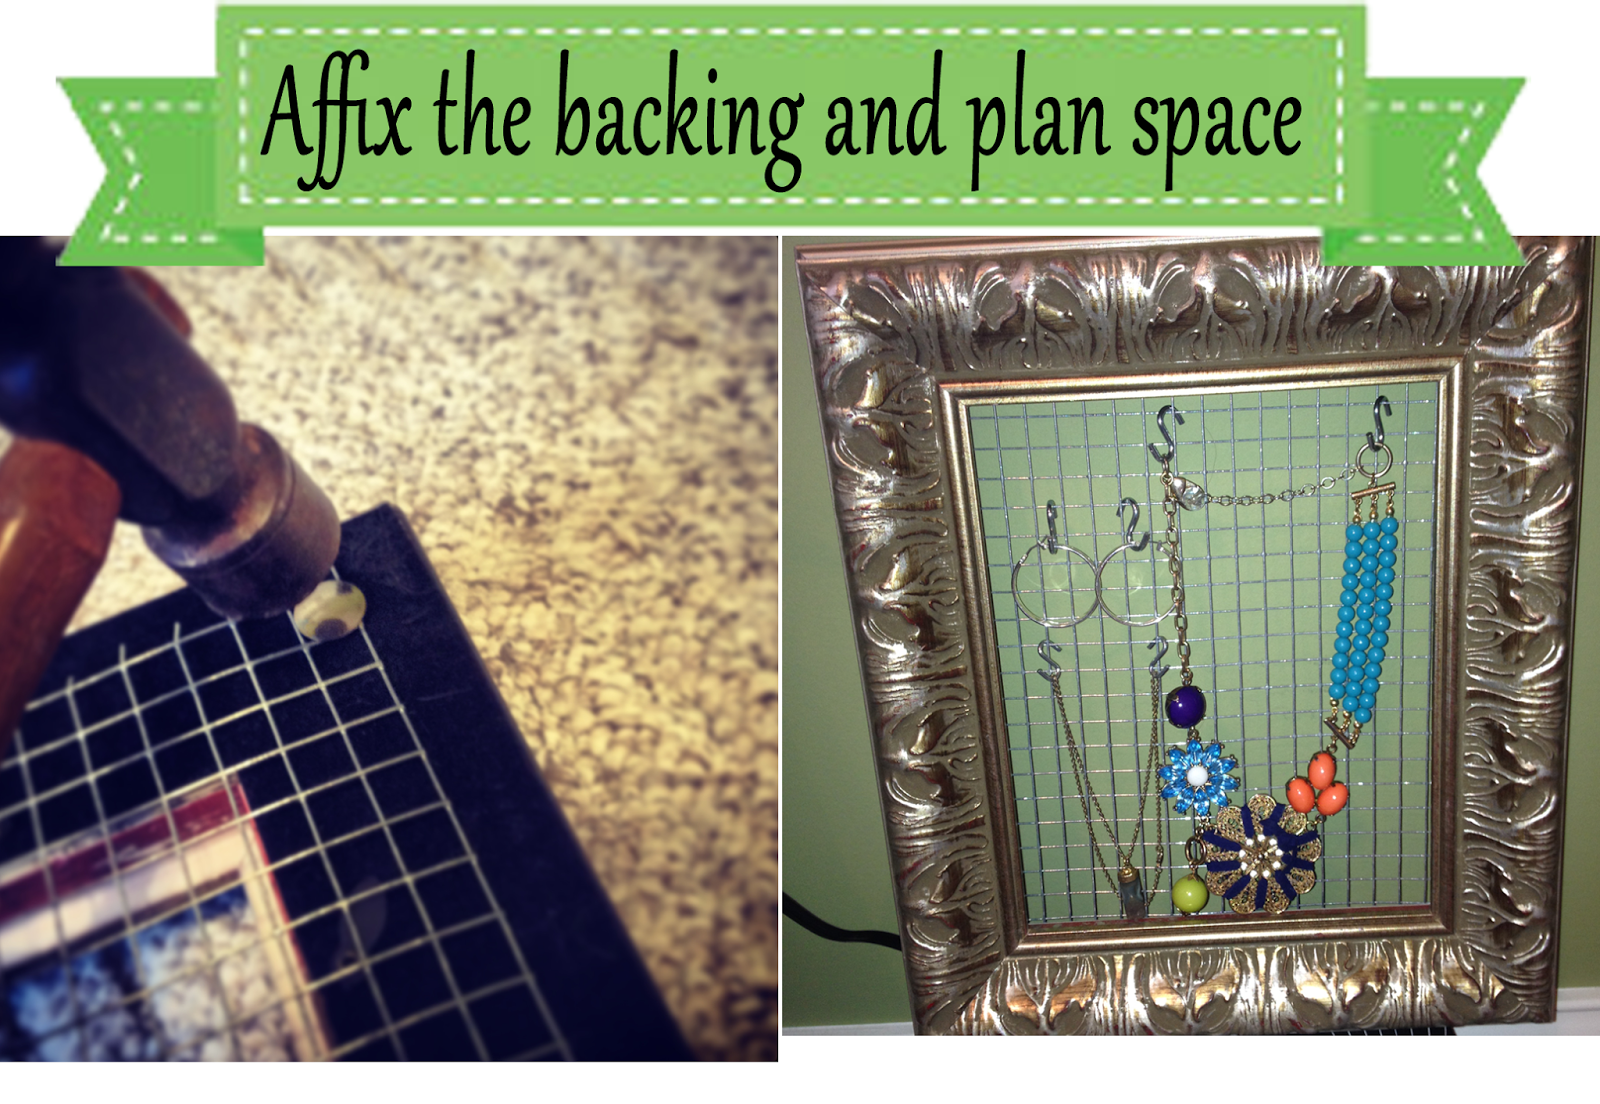
Affix the backing using a hammer and the large thumb tacks.  Next, using the ‘S’ hooks, plan how you will organize your jewelry pieces on the frame. It is OK if the chicken wire is a little loose, or not flat.  If the wire is flat against the wall, it will make it harder to hang the ‘s’ hooks.

I didn’t finish the edges of mine, but I think I might add some heavy duty tape (like packing tape) to the edges on the back of the frame. This will help secure the wire to the frame, and protect the wall from the raw edges of the wire.

Step 5

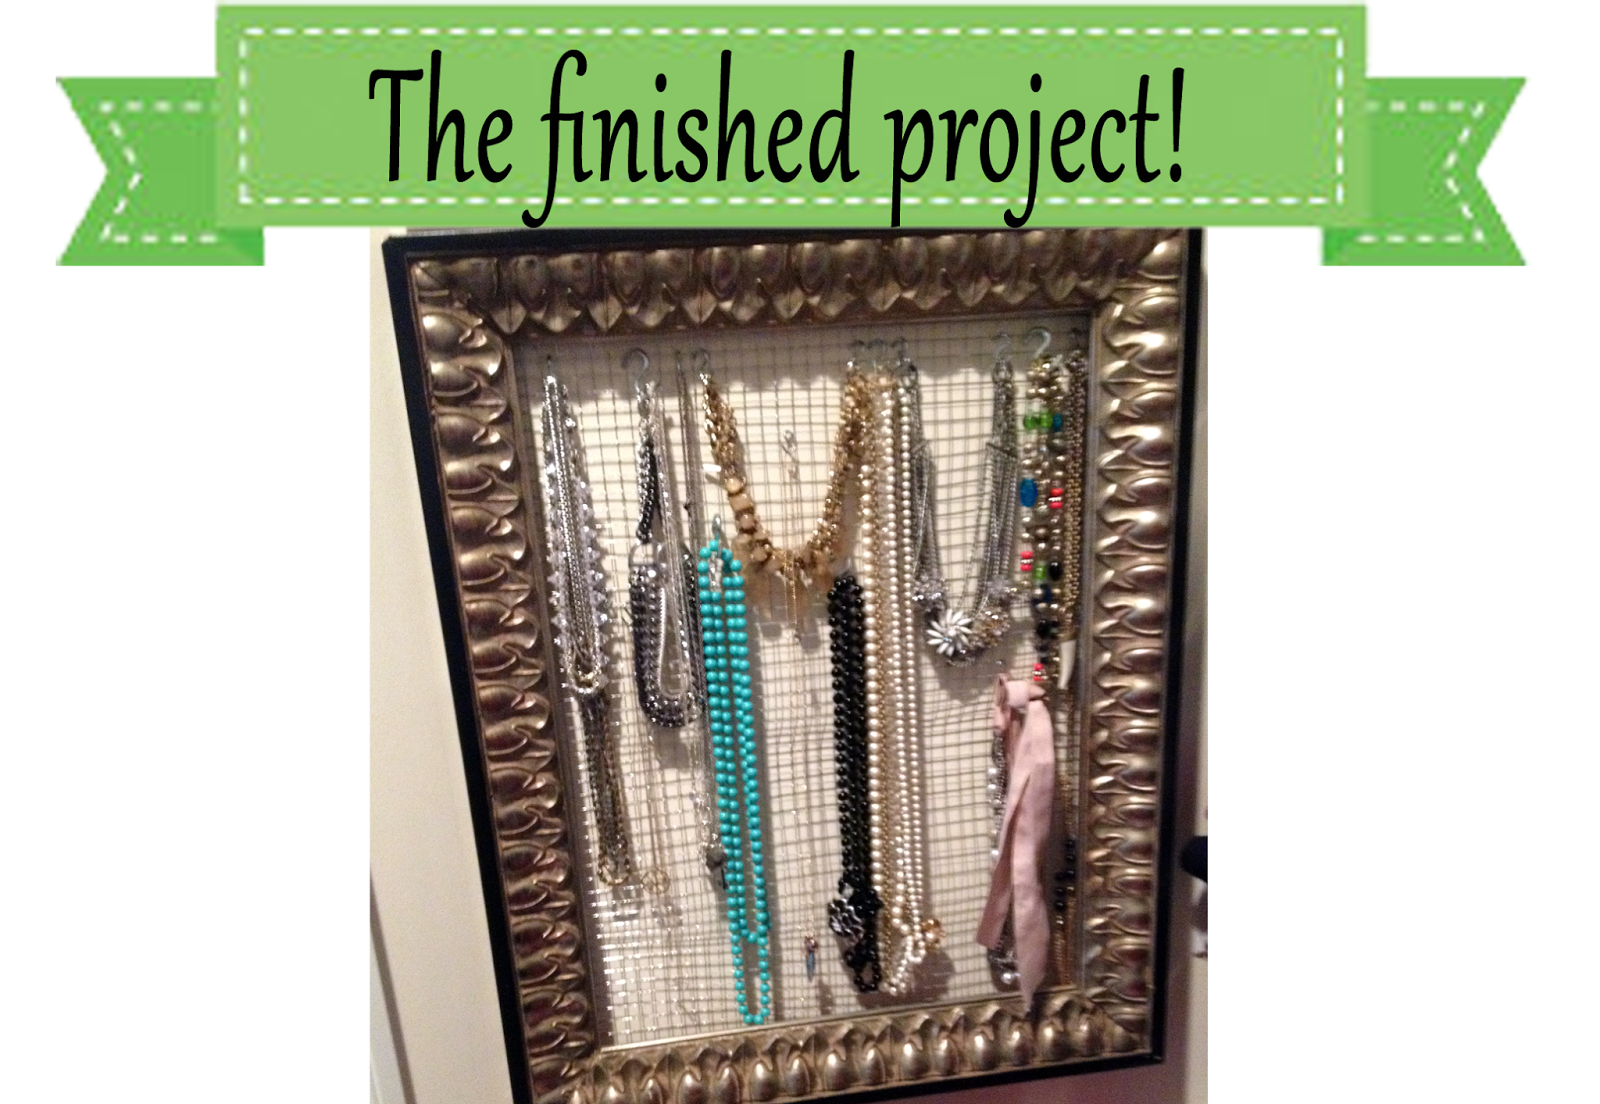
The last step is to nail your jewelry organizer to the wall.  I used 2 basic picture hanging nails. Enjoy seeing all of your jewelry pieces neatly organized!  And the best part, it takes up unused wall space in your closet! BONUS!

7 Easy Chalkboard Paint Crafts

The back-to-school season is in full swing and to honor that oh-so-wonderful time of year, I thought we could talk about fun chalkboard paint crafts today on Goodwill Tips. What could be more fun than chalkboard paint projects and what better time to tackle a project like this then when the kids return to school?

Before I begin, I must disclose that I am absolutely obsessed with chalkboard paint and chalkboard paint projects. Don’t believe me? Check out our outdoor chalkboard door, our chalkboard lunchbox station, our chalkboard pumpkin people,  our chalkboard cookie jars, even our homework stations are adorned with chalkboards. I, basically, have chalkboard paint under my nails almost every day and I have even accidentally spray painted my feet a time or two with chalkboard spray paint. Whoops! It just goes to show that the possibilities are absolutely ENDLESS with chalkboard paint and how much fun these projects are.

Today I wanted to show you all of the fun DIY chalkboard paint projects you could try in your home with items that are commonly found at your local Goodwill store. Just doing this gathering of ideas is quite dangerous for me because I am already planning my next trip out there to do these fun projects! You won’t believe how fun or how easy the projects are that we are featuring today!

Personalize a Mug

Plain white mugs can often be found at Goodwill, but I am particularly in love with this chalkboard paint mug because it can also be a great way to cover up a mug that has a company logo on it. I am madly in love with this adorable mug from Craft-Werk because it can be personalized to its recipient or even personalized just for yourself. Check out the tutorial to find out how to create & cut your silhouette for your very own “moi mug.”  (@ Craft-Werk)

Organize Your Family

‘Tis the season for getting organized so why not do it with a magnetic chalkboard calendar that can be personalized just for your family. To create this craft, head to your Goodwill to find the perfect frame in the size you need for your wall. Spray paint the frame a color to match your home and then, utilizing some cut-to-order sheet metal, create a surface to jot down all of your families activities. Visit PSA Stamp Camp to find the tutorial for this magnetic chalkboard calendar. (@ PSA Stamp Camp)

Organize a Junk Drawer

One trip down the housewares aisle and I am sure you will spot many a jar that could use a good home. Open one drawer in my home and you will quickly see that creating a chalkboard jar organization system would be a lot better than the exploding drawers that are currently residing in my office. I love this fun and easy chalkboard mason jar storage from It All Started With Paint. Have no fear if you only find yourself with jars and no lids. Lids and bands can be purchased separately at just about any superstore that sells canning supplies  (@ It All Started With Paint)

Create a Chalkboard Labeled Cabinet

Goodwill is a wonderful resource for gently-loved furniture and just about any piece could be transformed into useful and organized storage with the addition of a little chalkboard paint. I love the functionality of this beautiful  chalkboard-painted piece featured on homelife for one clear reason…it showcases the beauty of chalkboard paint in other colors. Don’t feel like you have to be limited to just the black chalkboard paint. This piece is not only eye-catching, but it also offers smart functionality for kitchen storage. (@ homelife)

Personalize Your Stemware

Anything to prevent ending up with the wrong glass at parties is a win for me and I have fallen in love with this idea to add a chalkboard stem to a wine glass from Always Order Dessert. If you head to Goodwill you will find a lot of beautiful stemware that just might not match together. Adding a chalkboard stem to each wineglass adds a little cohesiveness to a mismatched set and makes for a fun addition to your entertaining supplies. (@ Always Order Dessert)

Make Dining Fun Again

Do you have a worn table in need of a face-lift? Maybe you have spotted a table at Goodwill that could use a little personal touch to it?  Look no further than this amazing chalkboard table transformation for making dining as a family, fun again. I love the idea of adding this touch to both dining tables or to craft tables. Consider adding a thought-starter question to the table, adding the evening’s menu, or simply labeling the food that is laid out for the meal. Check out this fun table makeover from design sponge for some inspiration for your thrift store purchase (@ design sponge)

Add Food Labels to the Buffet

Is a chalkboard table too big of a commitment? No worries! Consider visiting the housewares section of the store for simple small frames instead and give them a new look with chalkboard paint. Did you know that chalkboard paint can be applied to glass? Using a little chalkboard spray paint, you can transform any frame at Goodwill into a mini chalkboard to add a label to your dishes at holiday or large gathering meals. To make mismatched frames feel part of a set, spray paint them all in one color like this cheery yellow! (@ MomAdvice)

Have you tried any chalkboard paint projects in your home? Share your success stories here!